


To see if this custom-fit item will work for you please tell us what vehicle you'll use it with.



Thank you! Your comment has been submitted successfully. You should be able to view your question/comment here within a few days.
Error submitting comment. Please try again momentarily.

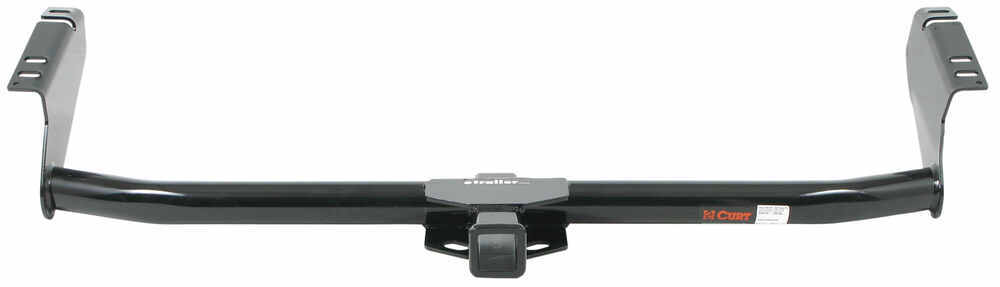


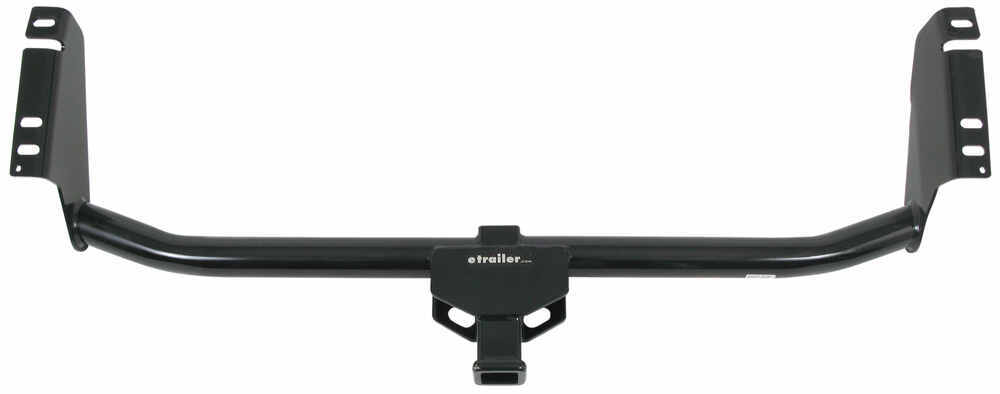

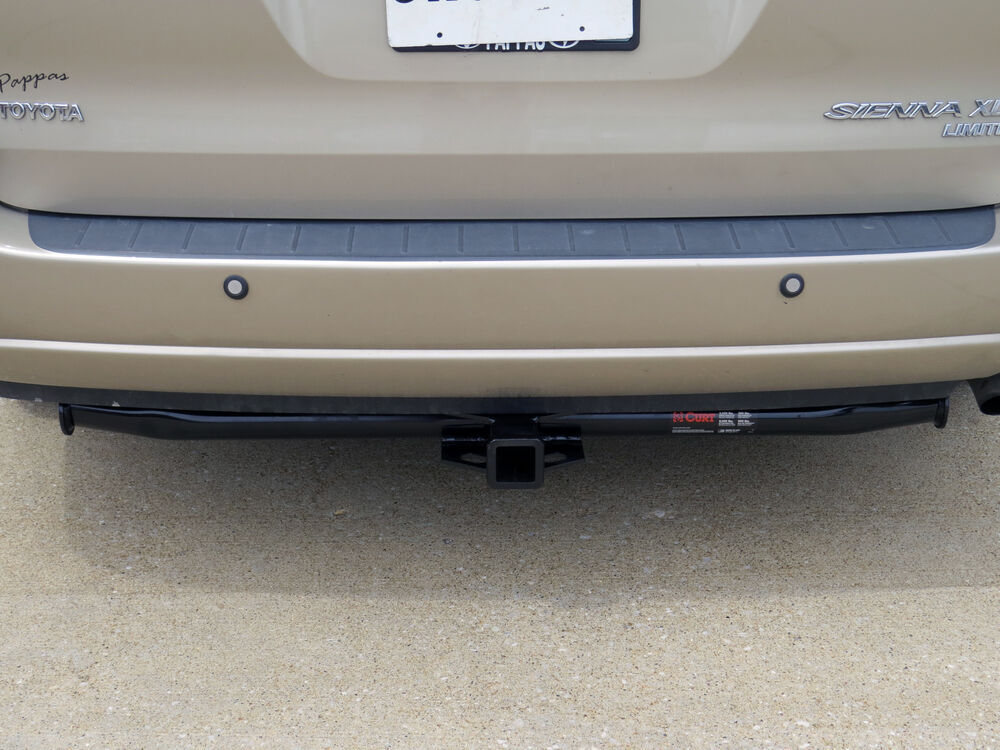
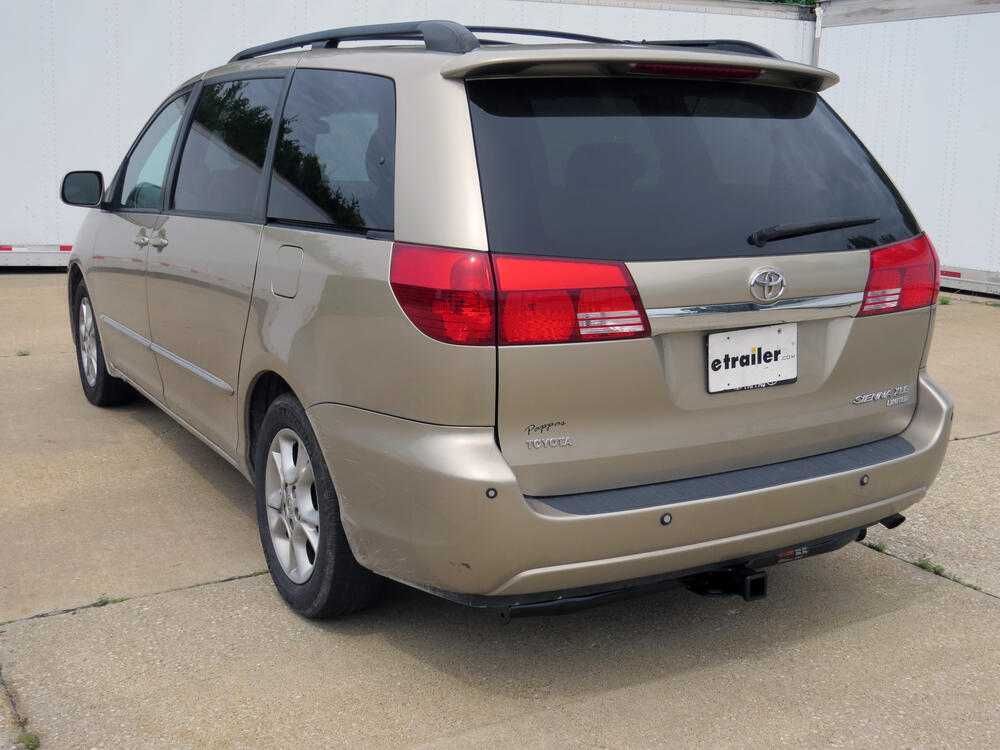
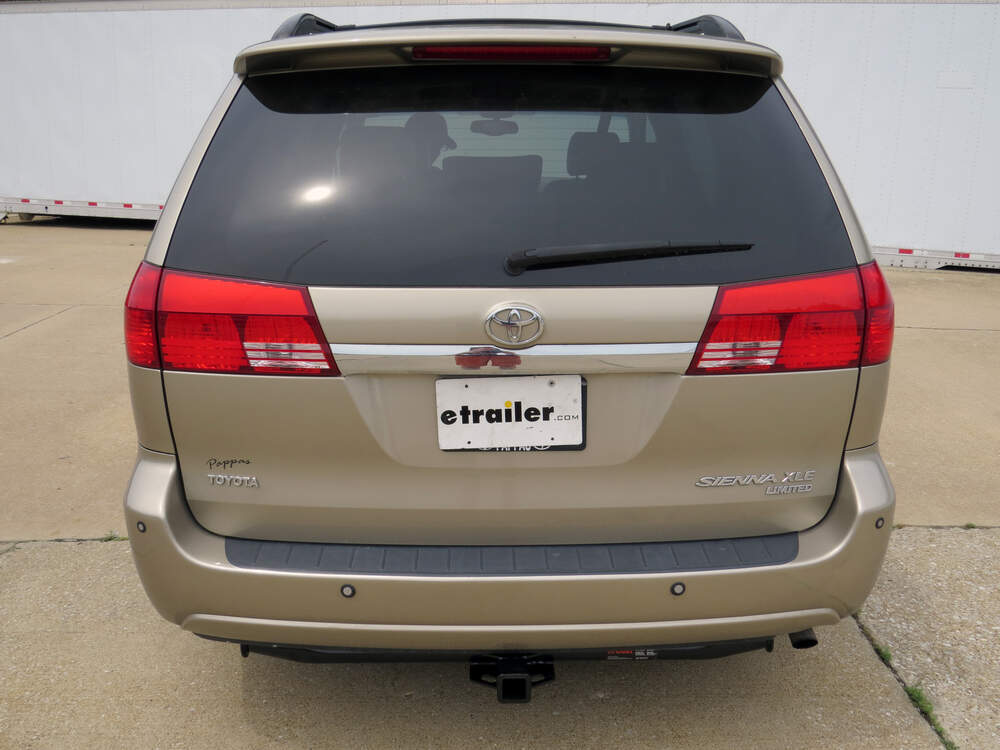
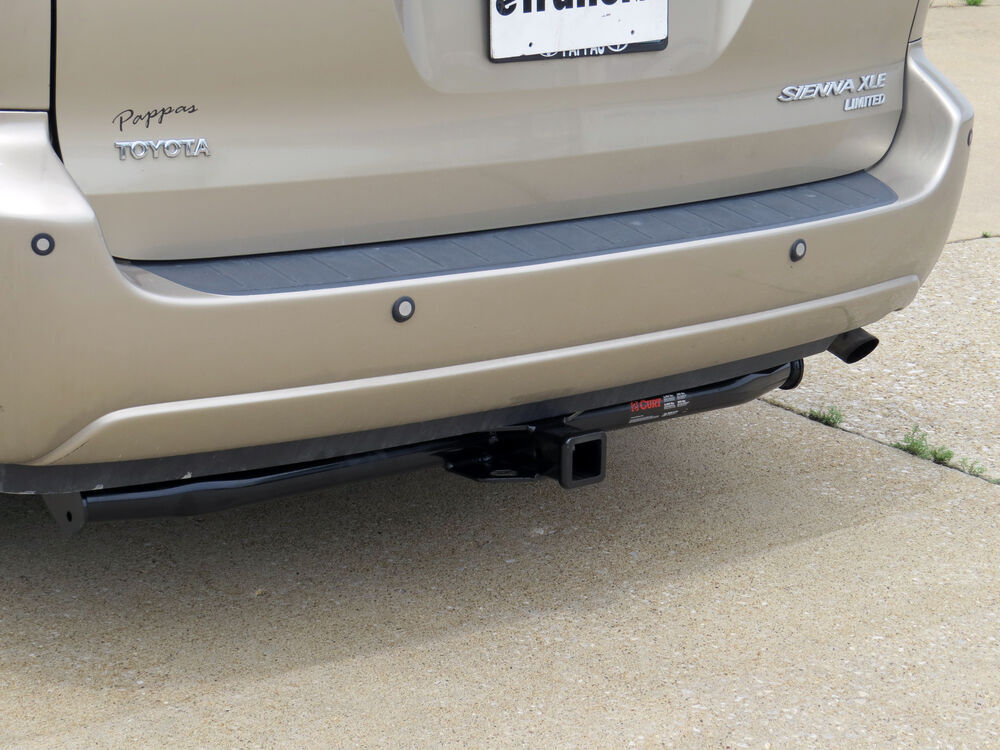
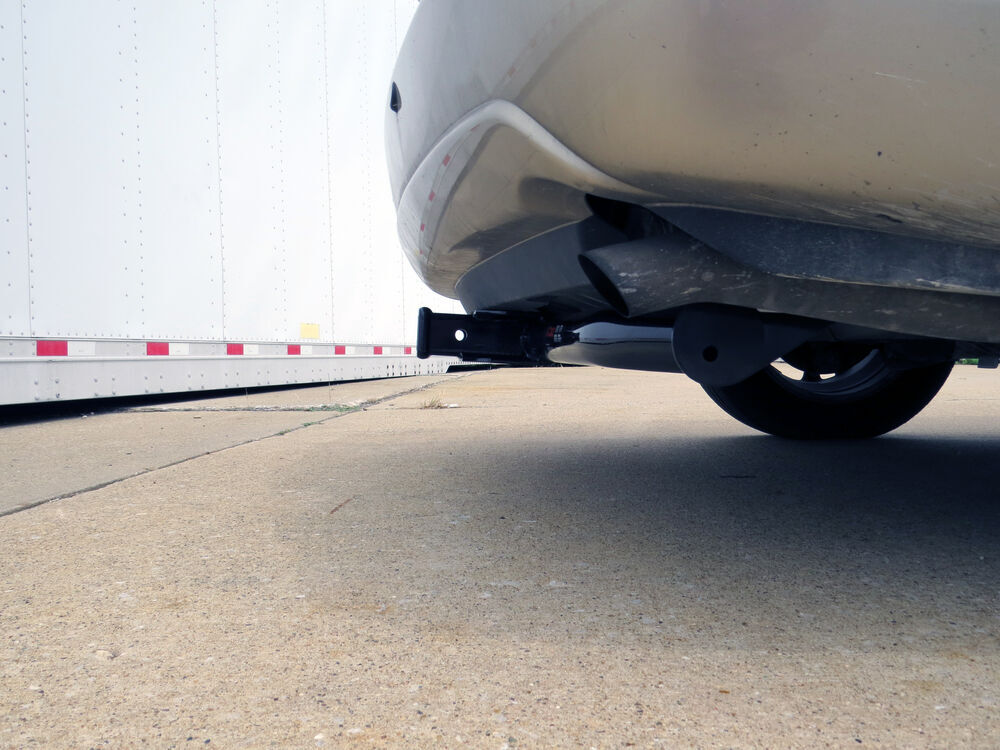
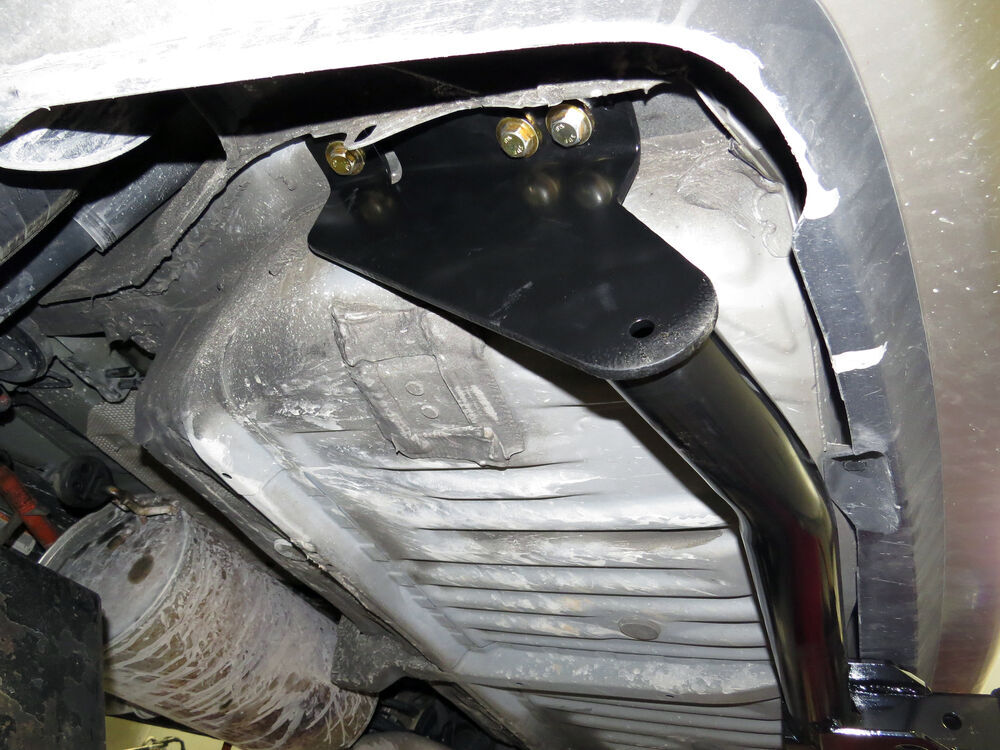
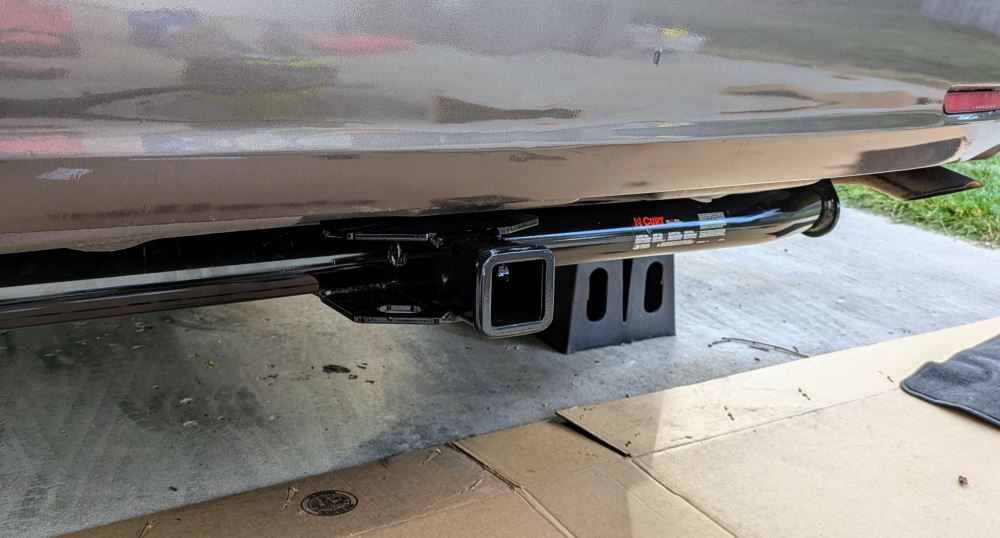
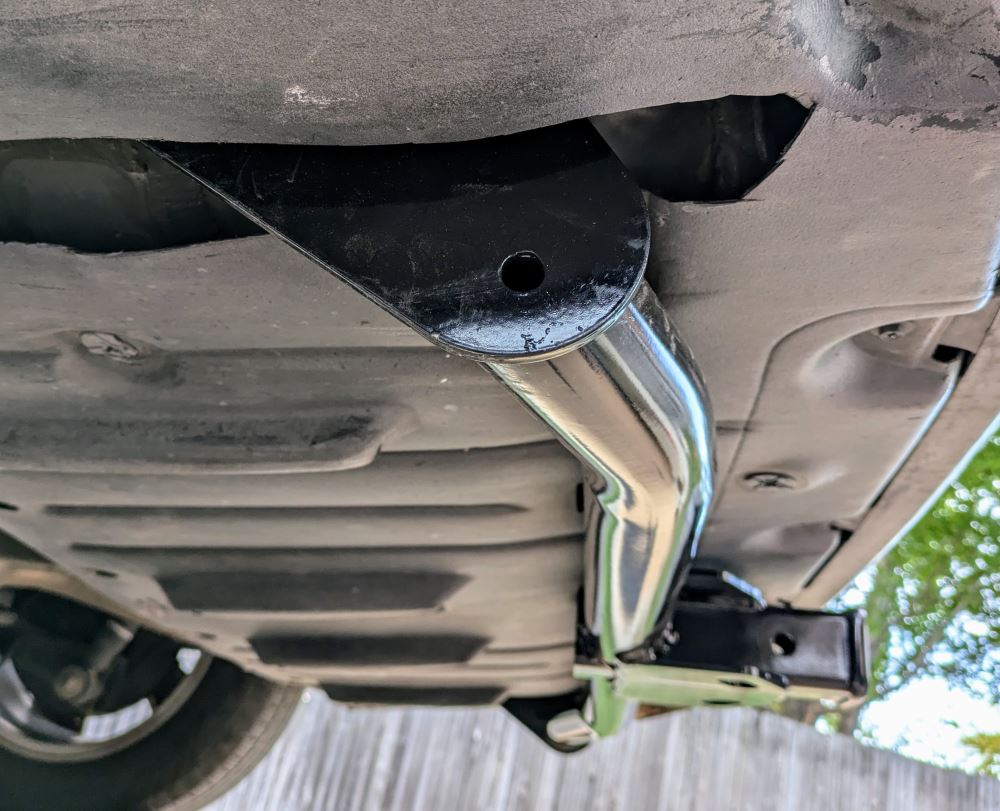

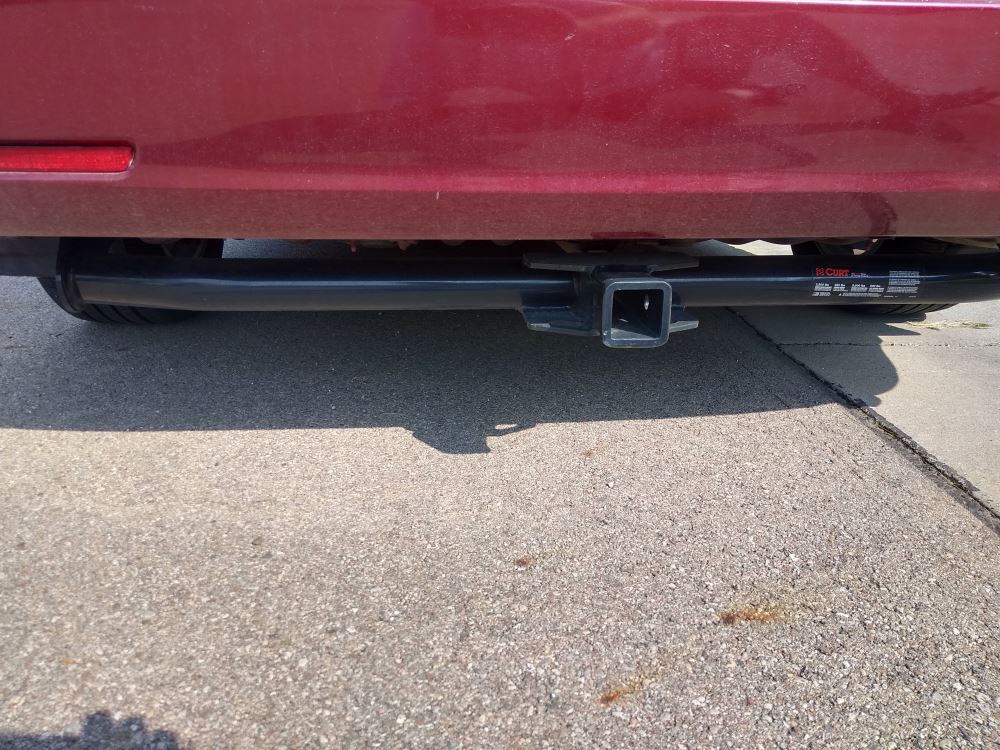

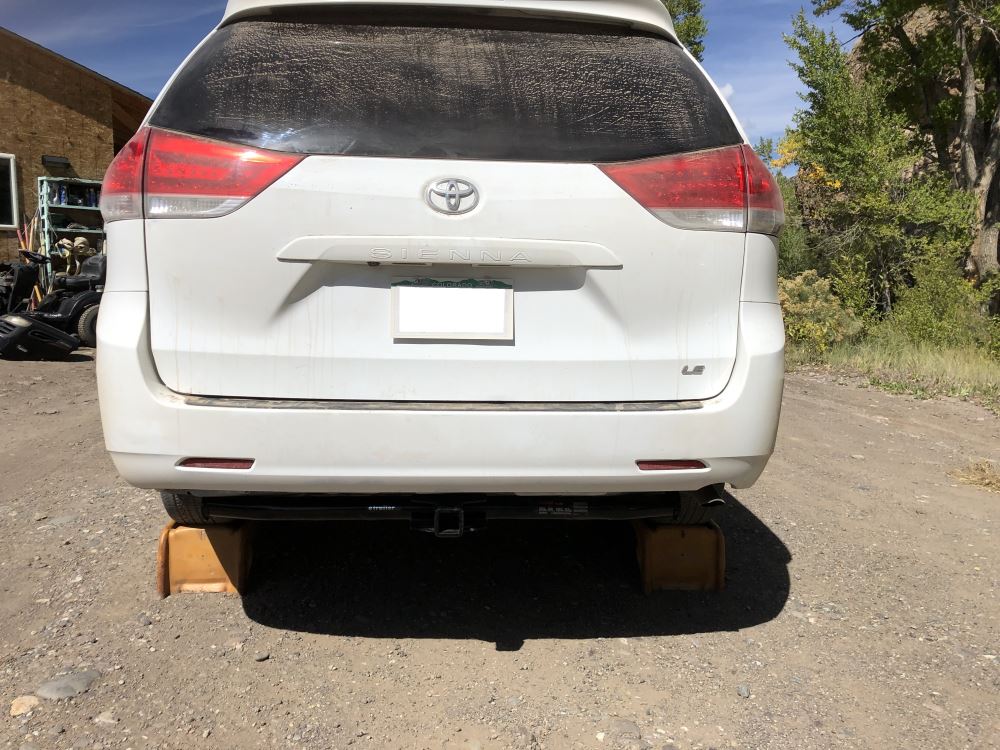


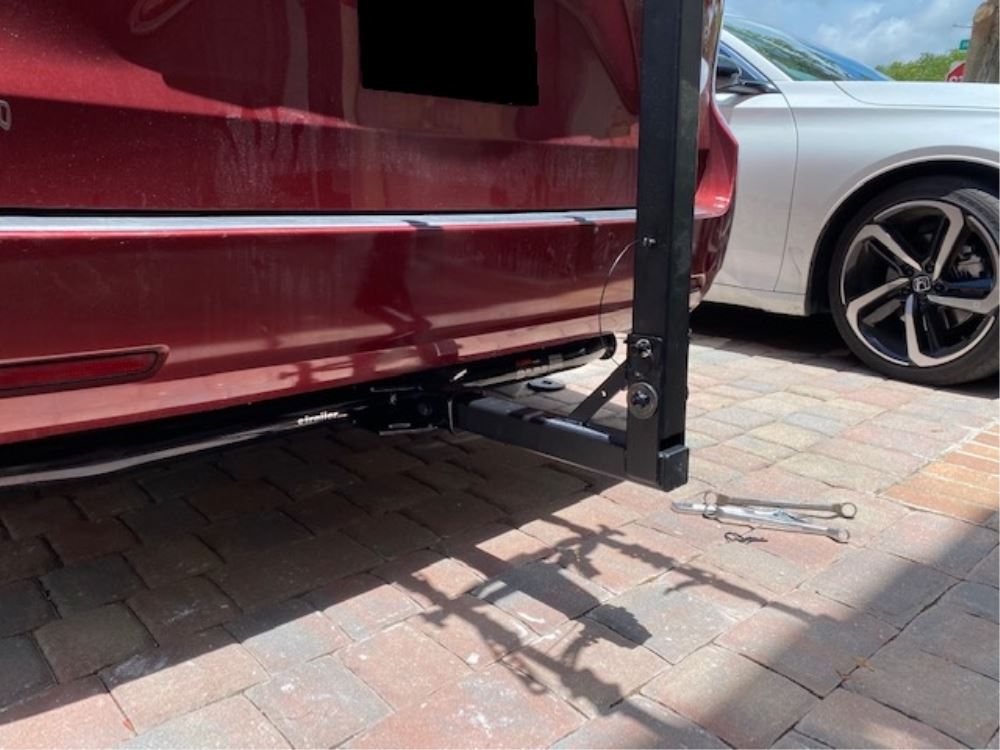
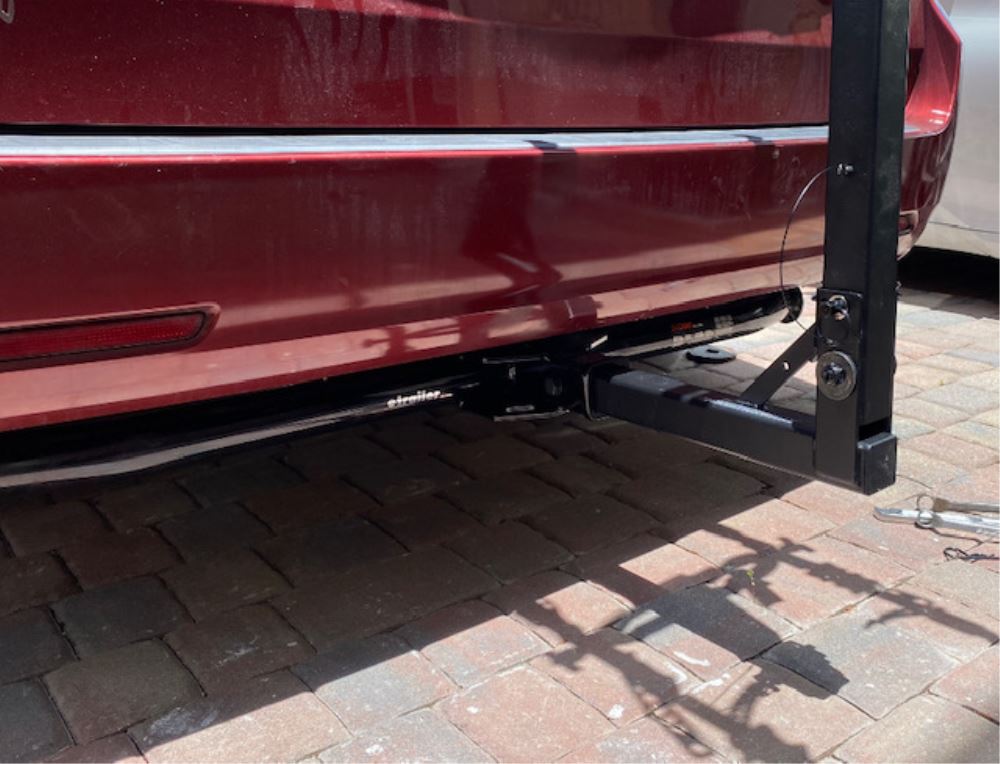
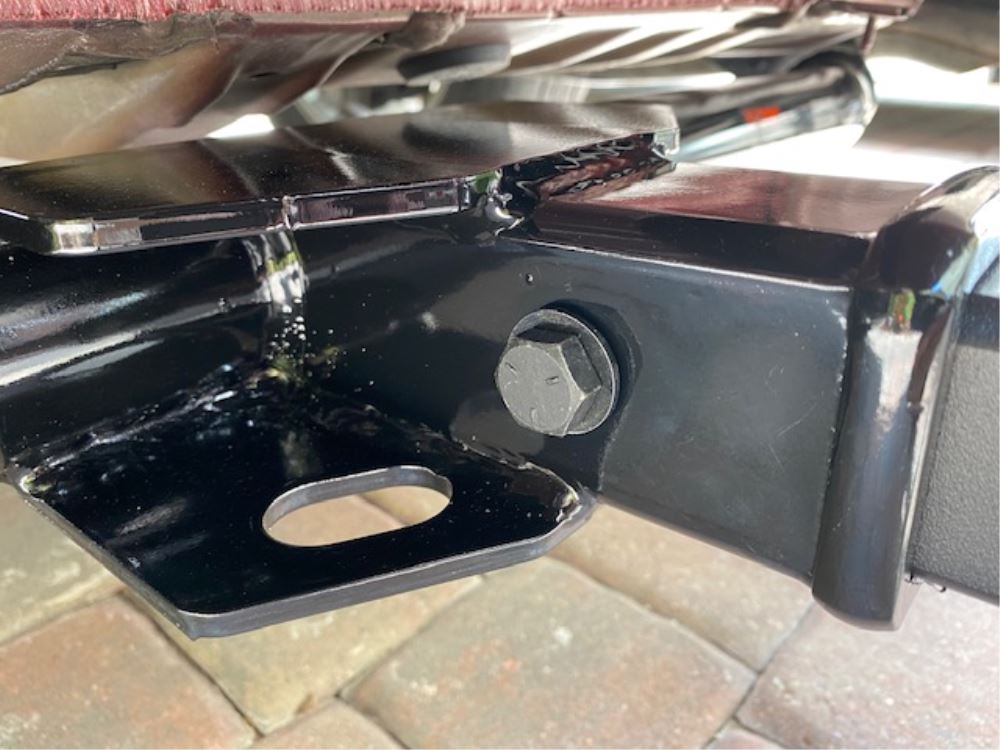


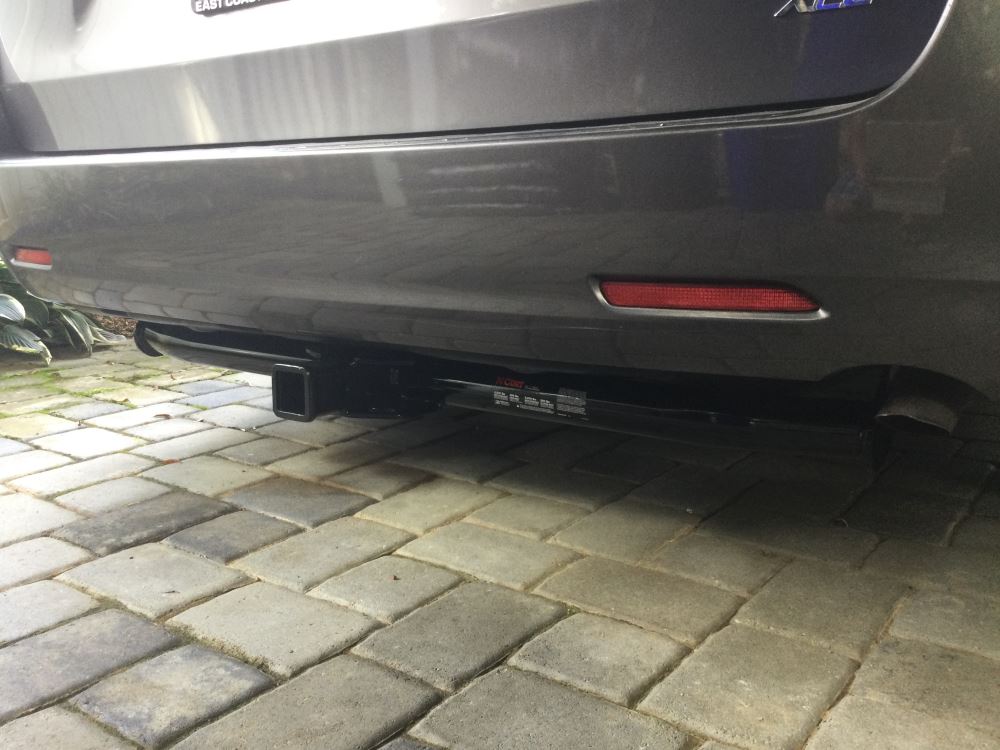

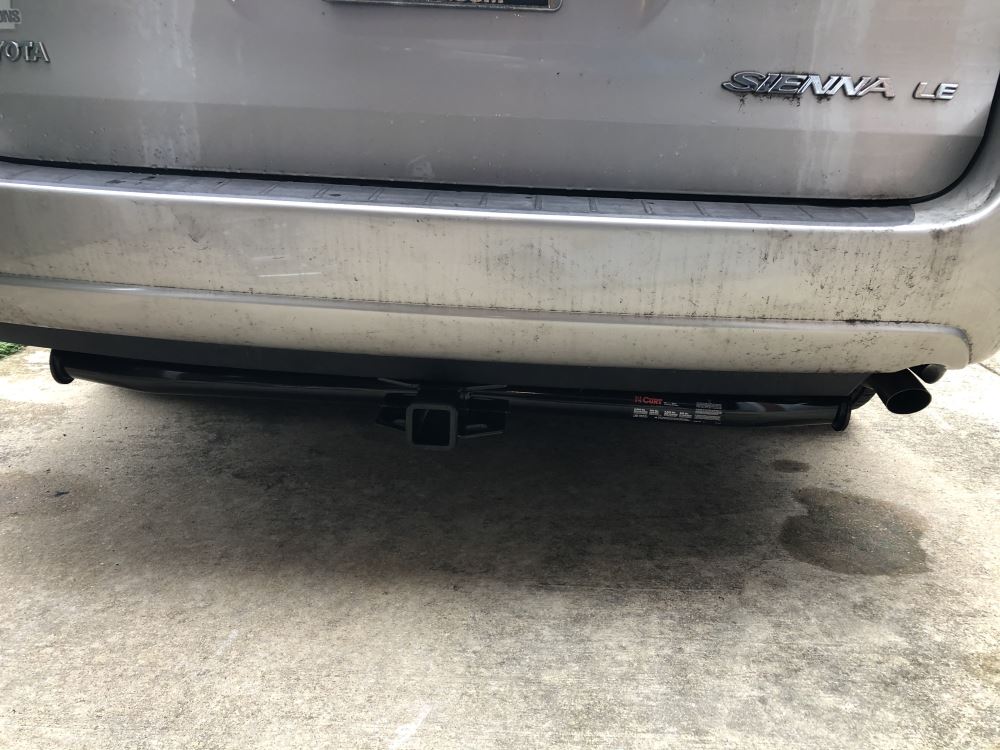

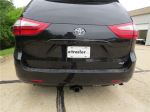
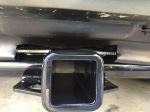
This Curt hitch gives you the versatility and capacity of a true Class III setup. The 2" x 2" receiver opening works with most bike racks, cargo carriers, and ball mounts, so you can switch from hauling gear to towing small trailers without hassle. With a 3,500-lb maximum gross trailer weight and 350-lb tongue weight rating (up to 5,000 lbs GTW and 500 lbs TW when using weight distribution), it’s built for everyday towing or carrying heavier accessories with confidence.
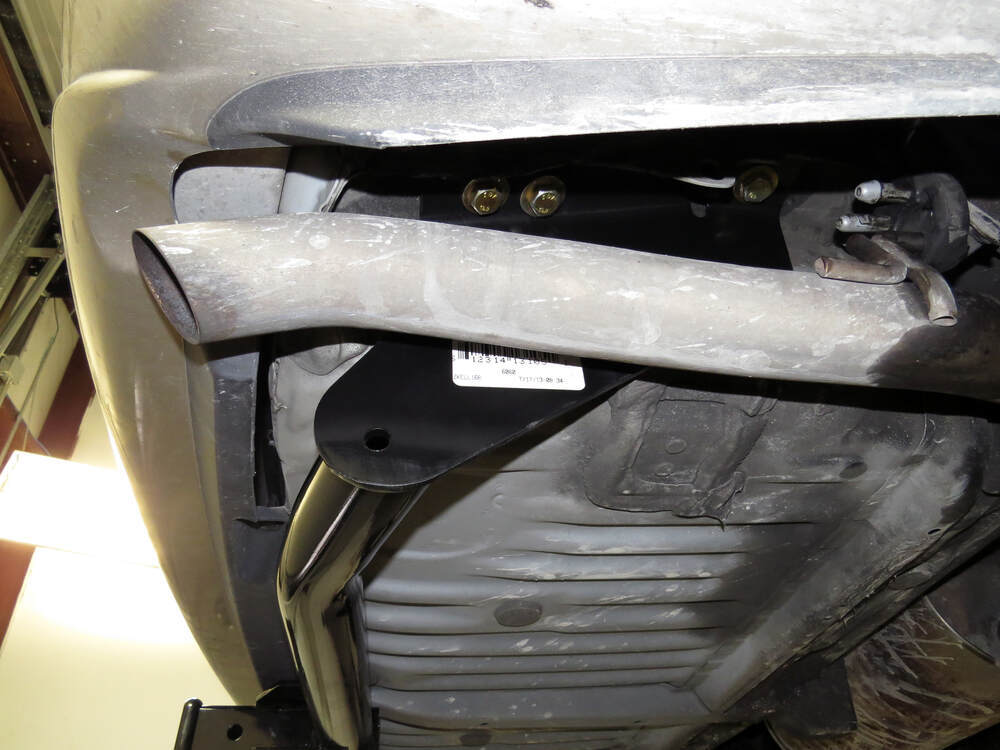
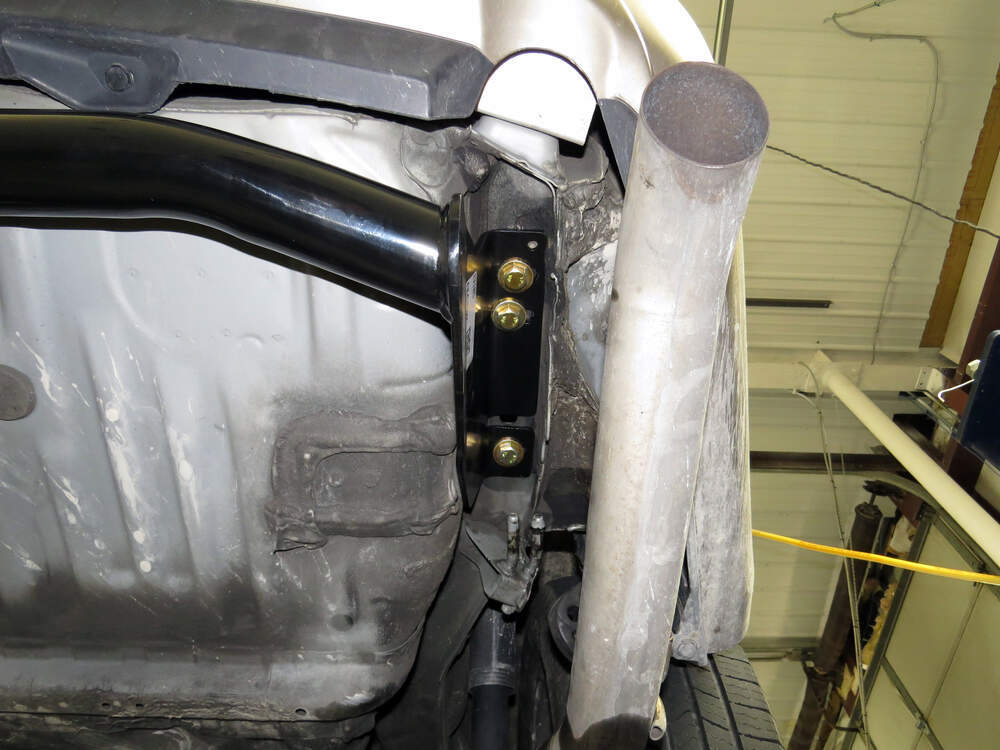
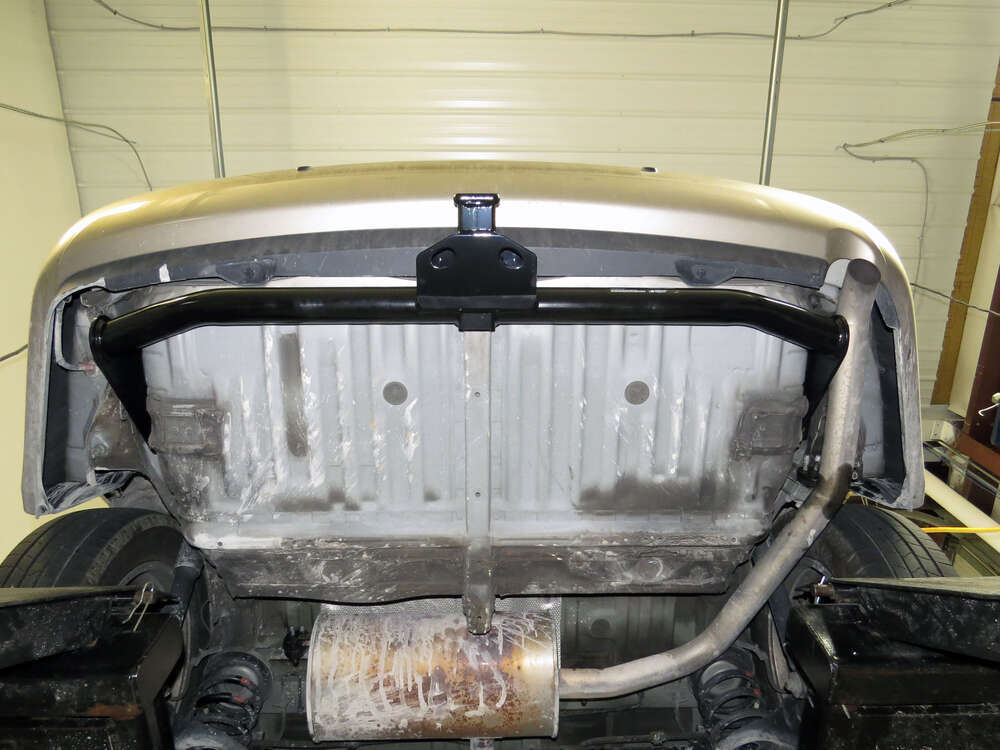
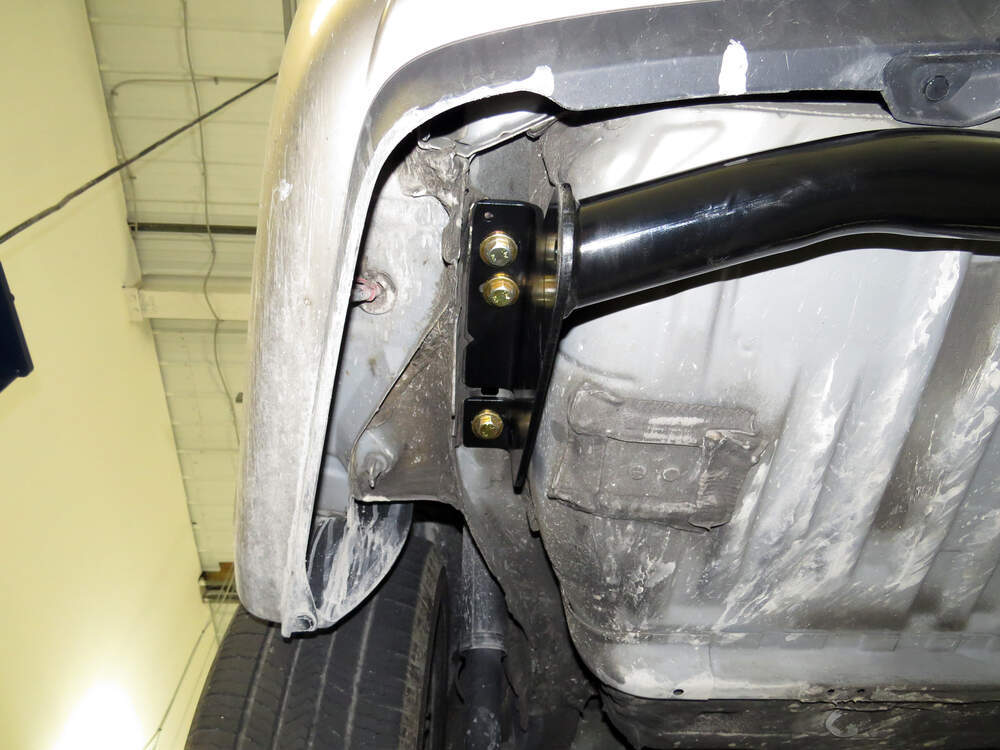
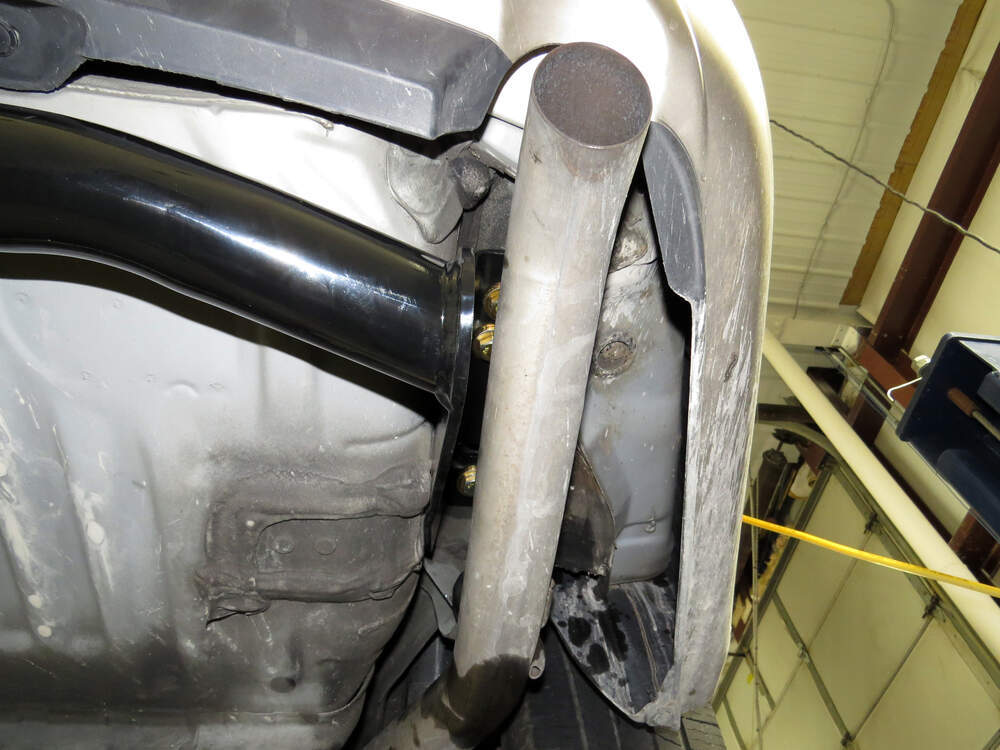
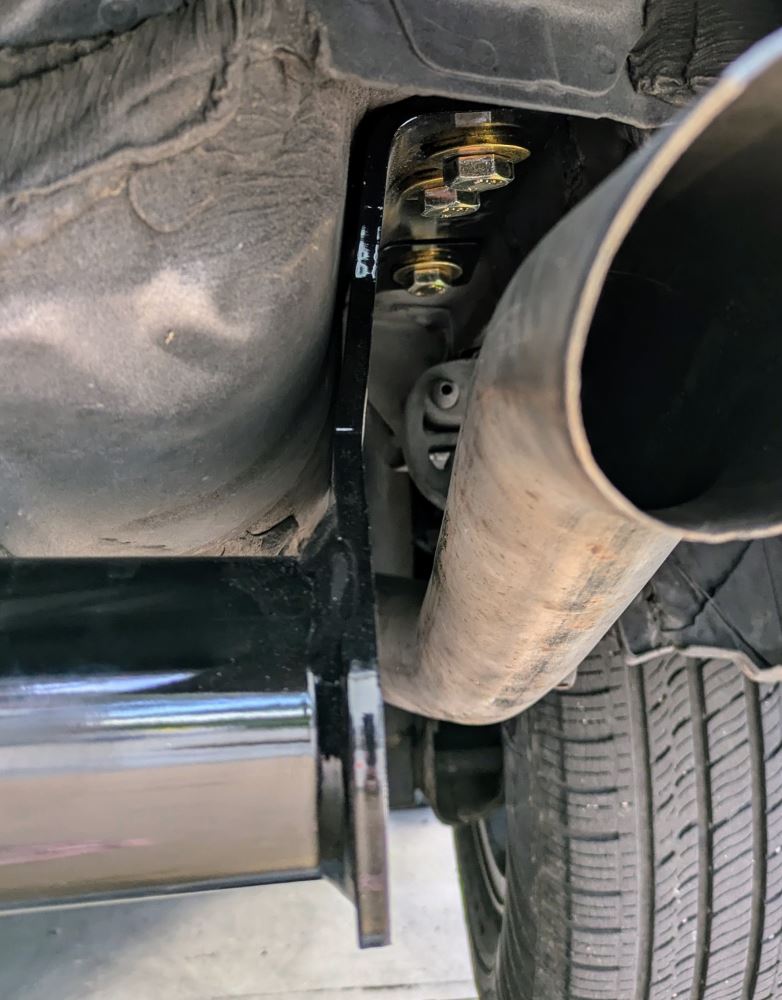
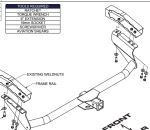
The fully welded hitch bolts right onto the frame — no drilling or welding needed. It uses existing factory holes for alignment, so everything lines up where it should. The installation hardware and instructions are included so you can get it mounted using basic hand tools in your driveway. This setup is ideal for DIY projects where you don’t want to mess around with fabrication work or special equipment.
The steel construction is precision-welded by robot for consistent strength across every seam. A gloss black powder coat finish layered over a protective base coat helps block out rust and corrosion from road grime and weather. Whether it’s seeing action in winter road salt or summer humidity, the finish keeps it looking clean and performing solidly over time.
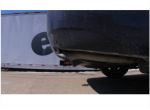
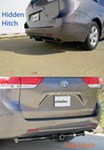
The receiver tube sits flush under the bumper for easy access when you need to attach a bike rack or cargo tray. Ball mount, pin, and clip are sold separately, so you can choose the exact setup that fits your needs. With its visible cross tube design and tight tolerances, this hitch delivers a dependable, everyday fit that looks neat on the back of your ride.

Customer Satisfaction Score:
98% were satisfied with this product
2% of customers were not satisfied
Ratings & Reviews

Installing this went "without a hitch." I followed the instructions per the 2012 video and had no problems. The documentation that came with the hitch gave instructions for temporarily removing the exhaust pipe hanger, but we found this to be unnecessary, as there was sufficient stretch in the rubber hanger to push the pipe out of the way.
We put a bit of Locktite #248 on the threads of the bolts to keep them from backing out. Medium strength stuff.
Was a bit worried when the box it came in was pretty bad shape. Aside from a few minor scuffs nothing major.
Nice nice well made hitch!
Installation was not too bad I did it by myslef and it took about 30 minutes.
Now all I need it the bike rack that has been on back order.
Well built product for a great price plus easy to moderate installation. I will be purchasing a bike rack for the hitch from etrailer.com in the future.
I did receiver the hitch, in excellent condition, and installed it the afternoon. Total install time was just over an hour. All the instructions were spot on, however the reach above the exhaust pipe was tight. This was the only slow down we encountered.
Thanks for the quick delivery, great instructions, and video demonstration! 2014 Toyota Sienna w/ Curt hitch.
I feel the hitch bar was of good solid material and well made. When I first received the hitch it did not fit my 2010 Sienna. So with the quick and friendly guidance from Will at etrailer.com, I was able to open the hitch mounting arms and fit it to my Van. The mounting arms are flexible by design and can bend during shipment. I would definitely recommend this product to the next customer.
The hitch itself is sturdy and looks great on my 2009 Toyota Sienna LE. However I had trouble putting one of the bolts in. I had cleaned the hole with WD-40 and hole brush and also ran the bolts prior to installation of the hitch to make sure the thread holes are clear of rust etc as suggested in the video. It’s a tight fit with the hitch and I had no issues with 5 bolts. I think the slot on the hitch for the bolt with issue is a bit too tight as a result the bolt would not go in straight and wouldn’t latch on to the hole threads. I had to finally force that bolt in with an impact wrench.
Looked all over for this product at a fair price for my family's 2005 sienna minivan. Found it at etrailer.com via online search. Called to make sure it was in stock and was happy to quickly speak with one of there knowledgeable staff personnel. I had questions regarding timeline of free standard delivery which was only 5-7 days to California. They also assured no problems with returns or us of PayPal as payment option. Entire transaction was seamless and the self installation with very well based on instructions provided within packaging. Overall, I give them 5 stars for providing an as advertised product to my home in an efficient timely manner with above average customer service.
Hitch appears to be solidly built and was a breeze to install, especially after watching the installation video.
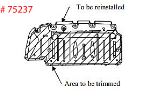
Got this for my 2011 Sienna SE. As a friend of my is giving me his old bike rack. I'm extremely happy with it, you can hardly see the hitch especially with SE' sporty bumper. Installation was easy but a bit challenging as I had to do it on my own. I do want to point out the etailer installation video where the guy cut the bottom plastic tray,was incorrect. It should be more to the right . Now my tray cut out is twice as wide. Not a biggie, just cosmetics. Follow the cut out on the instructions sheet instead. Overal very happy and highly recommended for Sienna SE models.
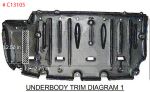
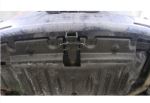
You need to trim the rear splashguard but the instructions tell you how.
You will need to be able to pop out the plastic panel fittings, and if any of them break, you will need some replacements for 10mm holes
Overall installing this myself wasn't too difficult. I'd put it somewhere between an oil change and a brake job in complexity. There are a few notes and gotchas not mentioned in the installation video I wanted to mention, though.
--I was able to get away with removing just one of the two exhaust hangers on my van, and then pulling the exhaust pipe sideways to access the bolts with a long socket extension.
--It's a pain, but you can do the install by yourself if you have the upper body strength to hold the hitch in place with one hand while you get the first bolt started with the other.
--Speaking of upper body strength, the most challenging part of the install for me was torquing the bolts. I'm a reasonably-fit middle-aged guy, but getting my arms to put out the required 79 foot-pounds was a little painful, especially lying on my back under a van.
--The installation video is helpful, but it's wrong on one step. It implies that you can cut the plastic shroud under the bumper and reinstall it after you've put on the hitch, but this is incorrect. Per the instructions, you have to install the shroud UNDER the hitch before you put in the bolts. I didn't realize this until the hitch was already torqued, so I opted to just leave the shroud off. There's no way I'm messing with those bolts again at this point.
Now that it's in, the hitch looks good, seems sturdy, and saved me a lot of money compared to a professional install.
Excellent hitch. Looks better than most, integrates very well with the vehicle (Toyota Sienna van). Instructions were very clear on installation of both the hitch and the wiring harness I also purchased. Installation went very smoothly. FYI - rent the proper torque wrench from your local auto parts store if you don't already own one to install the hitch properly.
Hitch is great and the video is a great tool for installing. I'm not mechanical so without the video I would have been stuck. A few items of advice for installers:
1. Make sure you have an extension for your ratchet like the video shows. I didn't have that and it made it difficult around the exhaust. The video that is on the Curt webside recommends moving the exhaust out of the way for the install. If you don't have an extended ratchet, that is what I'd do (if you have the tool to do that). We made it work, but I needed to use my wife's smaller hands to get the bolts started on that side.
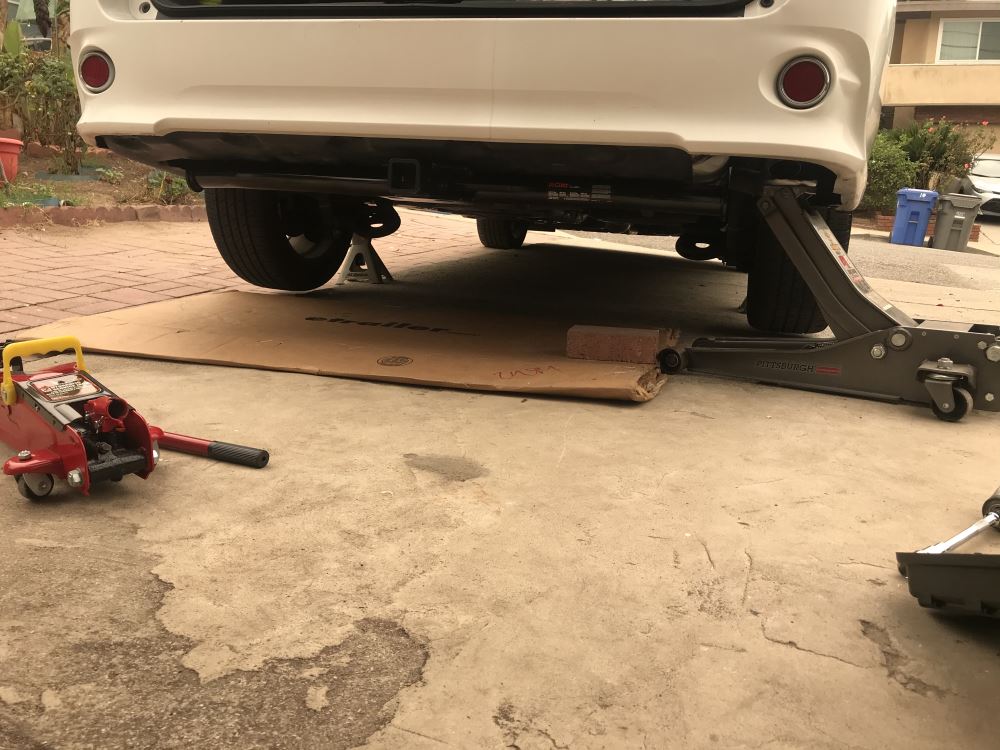
2. The instructions says that you don't need to raise the vehicle. I didn't raise ours, but in retrospect, I would have raised it up or at least put a jack under it so I could lay on a roller or something. I'm an accountant so manual labor laying on concrete makes me sore - and it gets pretty tight under there :)
3. Our van was very dirty underneath so I got a lot of dirt in my eyes when taking off the plastic cover - might be worth wearing some glasses when you do it.
4. my only complaint is that the hitch is a little lower to the ground than I'd like - I think it will be grounding out on some driveways. that really isn't the hitch's fault though - it is fitting pretty snug underneath the van, but the van just sits pretty low to start with.
I have a picture of my 5 year old helping me - yes, he is still alive under the van. I didn't intend to attach that but can't figure out how to remove :)
Ordered on a Wednesday, shipped Sunday, arrived Wednesday, so a week to deliver. Not too bad for free shipping of something this large. Appeared to be well packaged, and no damage upon arrival other than a tiny chip in the powder coat on the edge of one of the mounting ears.
I was immediately impressed with the quality and heavy duty nature of the hitch- should certainly withstand anything I'll tow with my 2013 Sienna.
Install went well, though I took a bit of extra time to measure for the cutout. Being in snow country (MN), I was worried about how much snow/salt may get in there as it's directly behind the rear left tire, so wanted to minimize the opening. I cut right along the rib which the directions show you to cut out, and ended up with an opening about 1.75"x11"- probably could have gone shorter, but it fit fine and installation was a non-event. Make sure to have a large enough torque wrench to do 80 ft-lbf on the fasteners, and I added anti-sieze as well. Being that the van is only 3 years old, I didn't even have to clean out the mounting holes.
Still have to hook up wiring, but am leaving that for another day. Overall I'm very satisfied with the purchase.
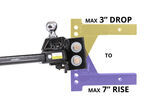
Took me and my 15 year old son about 30 minutes to attach the 2" Curt hitch. I did not reattach and cut the bottom plastic cover on our 2015 Sienna XLE. I left it off during our trip and when we returned I removed the hitch all together and put the cover back on. I will reinstall the hitch for our next trip. My driveway is steep and bottomed out every time pulling in and out. The bottom of the hitch was 7" off the ground as you will see in the attached photo.
I did have to spread open the hitch about 3/4" to install. I used a floor jack and a 2x4 which made this a quick and painless. I did not take a picture of this part. Just stand the hitch on end and put the floor jack inside with the 2x4 on top standing up. a few pumps of the handle did the trick for me. I'm sure any jack will work.
Love the etrailer hitch purchased so we could add a cargo carrier into the receiver hitch behind our Toyota Sienna. The quoted price and ETA to get to our home was right on. We easily saved more than half the money on purchase and installation by not going to a dealership. Good product, great purchase and use experience. We travel in style because the etrailer hitch moves cargo outside the vehicle and gives us more room. Sushi and Jingle
Hitch Installation 2006 Toyota Sienna
How I Did It:
I had no plastic bottom splash cover on this van to work around.
The van was not jacked up.. I simply hooked the passenger side of the hitch over the exhaust pipe (to support the hitch).
Using a block of wood on a jack I raised the (center receiver) of the hitch to draw the driver side up into the mounting position.
A 8-in heavy shank Phillips screwdriver and a tapered piece of wood helped to 'align' the (3) holes, and loosely set the driver side (bolts with washers), into place.
Moving to the passenger side.. I used a 2nd jack (with a piece of 2x4x6 (on the jack) placed between the body and exhaust to rise the hitch up and away form the tail pipe, and into mounting position.
Alternating between center jack supporting the "receiver", and passenger side jack (raising the right Hitch side), I kept the hitch level as the hitch was snugged into mounting position.
Again, using the tapered wood and screwdriver as an alinement set, I screwed in 2 of the 3 right side bolts. The third bolt, refused to 'catch' and failed to screw into place even though alinement appeared good, and the bold had been tested as screwing into the hole cleanly, prior to raising the hitch....
My solution to this was to use a 'bolt & nut of the proper size that I had on hand', identical to the supplied bolts but mine happened to be shorter, but with good threads. I placed a nut on this bolt.
I ground a leading cone shape taper (grinding about 4-threads away to make the taper), on the end of this new "alignment bolt". I oiled the treads, and then removed the nut to 'self-clean' the threads out to it's new end taper. I did not cut a thread-cutting chip-relief 'notch' in this bolt end, as I knew the van threads were good as pretested.
Using this modified bolt I was able to now 'catch' the van hole's lead-thread, and cinch-up this modified aligning bold tightly.
Or,... if you don't have an extra nut and bolt laying around, you can use one of the supplied hitch bolts, a grinder and a small file to touch-up the lead thread. There is plenty of length on a new Hitch bolt to work with.
(Be sure you have cleaned & pretested all 6 of the Van's bolt-hole threads with the supplied bolts prior to your install efforts!)
I also found it handy to have another small block of 2x4 to pry the exhaust pipe out of the way of your hand/tools, when using the socket set on the right side bolt holes.
With my modified bolt tight and in place, I then tightened the 2 installed right-side bolts.. remove the 'modifier aligning bold' and installed the 3-rd and final hitch bolt with it's washer.
Time To Tighten All the Bolts Down:
A point about torque on this Hitch/bolt install.
Though the instructions say to use a torque wrench, it seemed rare for anyone in comments/Product Review, to actually mention "using" a torque wrench with their installs.
Since the bolts are to be tightened to almost 80ft/lb this is ALLOT of force.. and even with the torque wrench it seems you will break the bolts, until you hear the wrench's refreshing STOP 'click'.
For those just 'guessing' as they use a beaker bar, or just grunting the bolts into place, I imagine allot of trailers are being pulled at 60mph+, with essentially loose bolts, or at the least, under-tightened/under torqued hitch bolts.
Hmm, overloaded trailer, over speed pulling, and under tightened bolts.... Sounds like fun!
Seriously, try very hard to get your hands on a proper torque wrench and be surprised at the amount of oomph it takes to properly tighten these bolts.
Anyway, the Hitch? Great bumper-cover hugging design.
Good paint-job and pretty "gold colored" bolt and washer set.
The instructions are clear.
Plastic Problems:
Some who have it installed, have goofed and cut the wrong side for the rear plastic underside splash panel. Just mark BOTH sides of the same lift side, so you don't get confused, or cut it, installed, and in place, as some have done with a utility-knife or tin snips. (Consider also a soldering-iron tip and steady hand).
Matching It All Together:
I also found that the CURT ball (one with a 2-in body rise) brought my ball-mount (it's a 1-in rise) and ball combo up to an acceptable (3-in rise), and level, to within 1/2~3/4-in connected to the trailer.
Final Thought:
I'm all for advertizing but not all over the van, so I pulled the stick-on labels off the hitch. It looks cleaner for me. Sorry eTrailer!
If someone asks, I'll tell e'm I got it from you. :-)
The takeaway? This is a good company to buy from... Thanks!
Great hitch, fairly easy to install. The only issue I had was I didn’t slide the bracket over the exhaust isolator bracket before I stated the rear bolts. Had to undo it and start over. But after that, very easy to install.
Roy M.

6/29/2020
Still working great! Using it in conjunction with a weight distribution hitch system and it is working flawlessly!
Excellent product. Installed easily with no vehicle modifications on the 2007 Sienna van. It was a simple bolt on installation. I'm glad the instructions specified the torque settings (79 ft. lbs.) because I would have never known to snug them that tight. It seems that the cupped washers had to be compressed to serve as lock washers. That seemed like a lot of torque. I was afraid that the bolts were going to shear, but they did not. Once the washers got compressed the bolts tightened up to recommended torque.
Josh
3/3/2015
How did you attach the trailer wiring harness to the hitch? I did not see an attachment for it in the pictures. Thank you.

Customer support was great. The biggest issue was cleaning out the bolt holes, which took about 45 minutes. Having the right tools is really key. Once the bolt hole was clear, took about 15 minutes for the remainder of the install. Came out great. Have not hooked up the bike rack but don't anticipate any problems.
Ryan R.
7/19/2015
Product working great. No issues.
True bolt on for a 2010 Toyota Sienna.
The only issue I encountered was that the driver side threading was really dirty and needed to be blasted with some PB blaster and wire brush cleaned. But that doesn't really have to do with the hitch itself. The passenger side must have been cleaner because the exhaust covered up that side a little bit.
Once everything was cleaned, the bolts were torqued to 79 lb/ft and I was good to go.
Thanks!
Josh
7/23/2014
No problems!
I installed the hitch on a 2004 Sienna. Very happy that Toyota pre-fits bolt holes. My wife bought a newer 2015 Sienna and when I'm done beating up her old van I can move the hitch to the new one! Only issue on the van is that the hitch sits pretty low to the street (I flipped the ball on the mount to gain some height). But it works fine and was easy to install.
It was a great purchase, thanks, Paul
Note: cleanout and test your bolt holes before wrestling with the hitch. Instructions said to remove the tailpipe holder, I was able to just wiggle the tailpipe out of the way.

Paul
1/23/2019
Thanks for reaching out. Everything is fine, it was a great purchase. Im very satisfied. I thought my original review was clear and complimentary, I dont feel the need to say it again. If you want to post this under my name go ahead.
2012 Sienna LE FWD. Watch the 2011 installation video before you start. This 13105 hitch tucks in even prettier than I expected, and now my brother is jealous. Note I made the cutout in the underbody panel narrower, starting 1.75 inches from the hole (see photo), for a closer fit, and there is still room for torque wrench. I also cut a slit out to the front edge, so I could slip it on with the hitch in place, and for better access to my air hoses inside the left fender. I decided to add Airlift after reading reviews, since on trips I carry a maximum load. Installed single-handed, raised on jack stands.
Terry B.
8/31/2014
Hi Mike,I was ready to purchase a 2014 Sienna until I found out Toyota would not put a hitch on this vehicle because of low ground clearance. I will be carrying heavy loads and have heard you bottom out on the hitch when going into parking lots etc. At times when the van is fully loaded I will also have a travel trailer attached which adds 400 lbs. to the tongue weight. Even with this hitch it may not be the right van for my needs. Do you have experience that can help me?Can you tell me what type of Airlift assist you put on and if you ever have trouble bottoming out on your hitch.How does the Airlift affect the ride both when heavily loaded and empty?Thank you for your time and have a great Labor Day weekend.
I installed this trailer hitch on my 2018 Toyota Sienna. It is very well-built, and fit perfectly. Customer service was very responsive when I had some questions, and responded right away, both by phone and email. The instructions were very good, but could benefit from additional information regarding cutting the car’s rear trim panel. In addition to the cut that needs to be made for the trailer hitch bolting plate to go through on the driver’s side , it also needs to be cut around the main bar / receiver area. Instead of cutting a big slot for the main bar, I cut out around the receiver plates, and put drain holes in the ends that would otherwise collect water. One shortcut that I found was that I was able to move the exhaust out of the way far enough by just removing the rearmost hanger, rather than removing the two hangers as shown in the video.
Chuck
7/30/2019
Every time that I have used this hitch, it has performed flawlessly. No complaints after a year of use. It is a well-made product.
Yes I have been very pleased with this trailer hitch receiver. No problems. I remember it came promptly. Thank you!
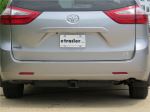
Do you have a question about this Trailer Hitch?
Info for this part was:
At etrailer we provide the best information available about the products we sell. We take the quality of our information seriously so that you can get the right part the first time. Let us know if anything is missing or if you have any questions.














































David
5/25/2021
After a year it still is working great as one would expect.